
MSGraph configuration
The steps below takes you through the process of the notifier configuration of MSGgraph, both for the Pushover service as well as the notifier configuration items (A video has been included for your convenience:
To add the MSGraph notifier, please follow the steps below.
Configure the Azure/Office365 Graph API access
In the “Microsoft Extra admin center” go to app registrations.
Click on “New registration”
Specify a name for the connection, select the choice of supported account types, and Click
”Register”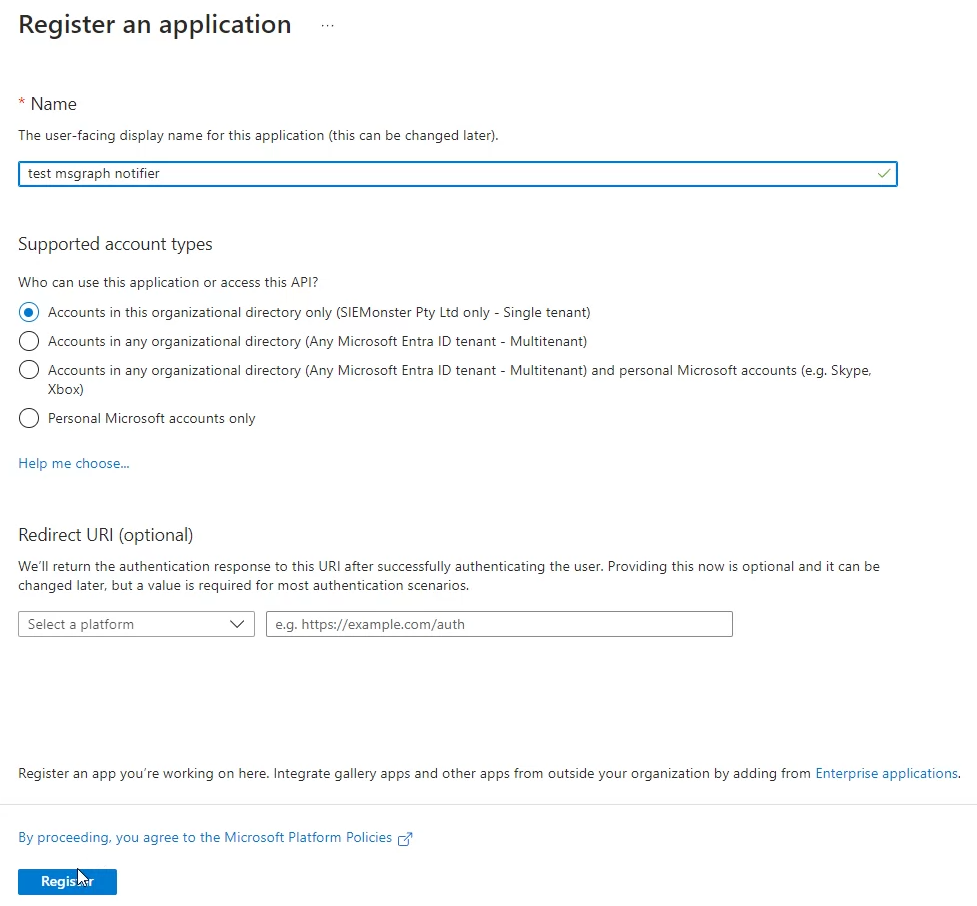
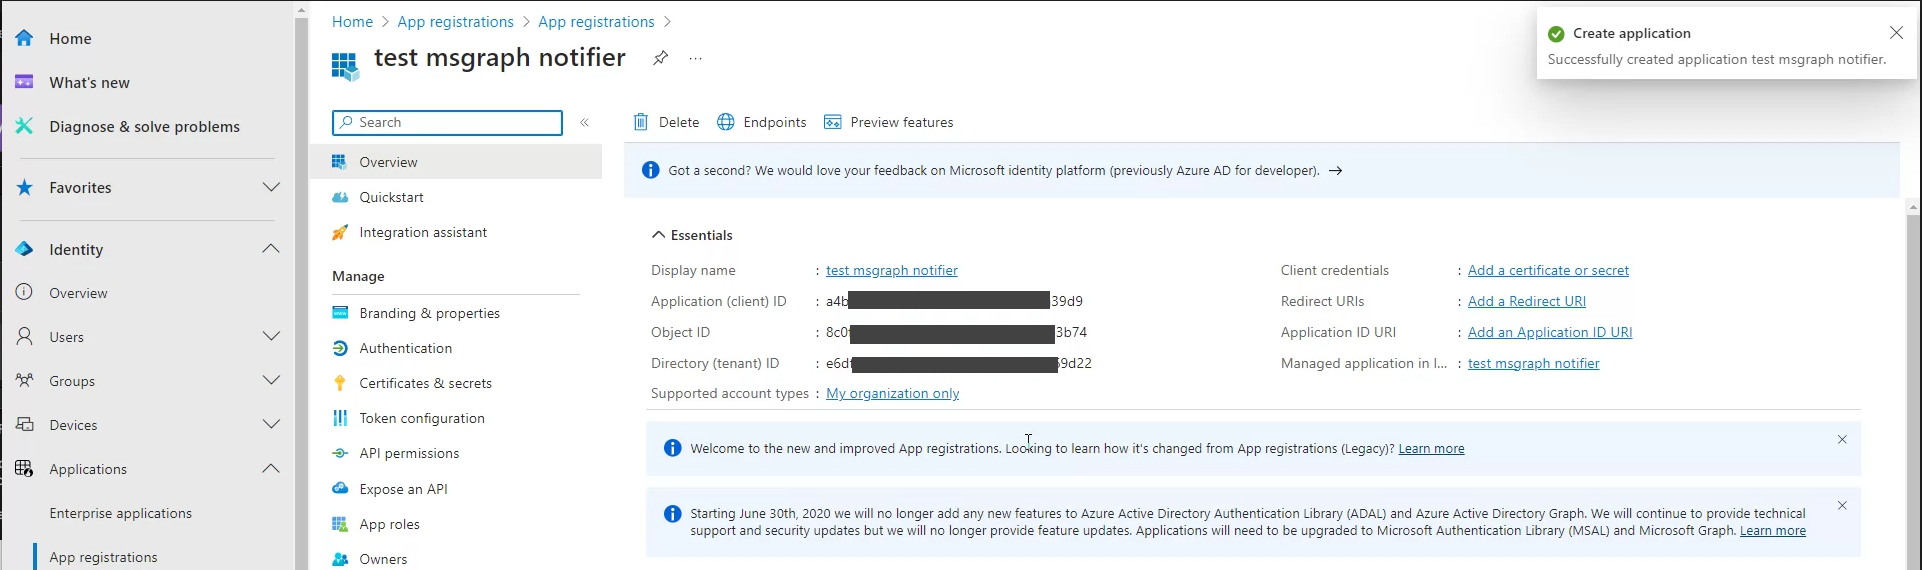
You will be presented with a screen similar to the below, please keep all the details in text format by copying and pasting them to a secure location
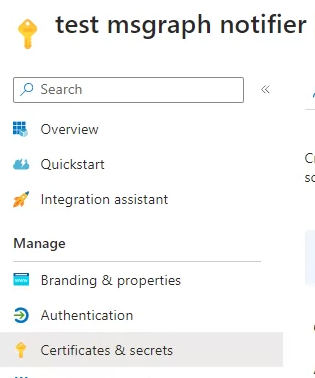
Click on “Certificates & Secrets”
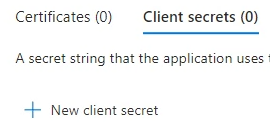
Click on “New client secret”
Give it a description and set the expiry period. Note: Add an appointment to your calendar to renew the secret before it expires so that the notifier can be updated.
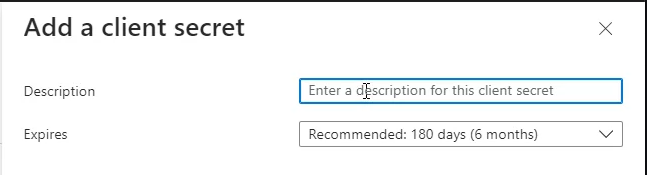
Click “Add” at the bottom of the prompt.
Copy the secret value that was created, and ad it to the client ID and the tenant ID copied earlier. NOTE: If you do not copy the secret value it won’t be visible later. You will have to recreate it.
Next, go to “API permissions” and click “Add permission”
Click “Microsoft Graph”
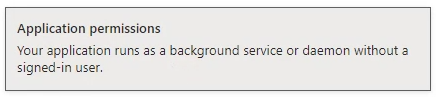
Click “Application Permissions”
In the search box, Type “Mail.Send”, expand the “Mail” item and Select “Mail.Send”

Click “Add permission” at the bottom of the page
Next Click “Grant admin consent …” in the middle of the page

Click “Yes” to confirm
Once the permissions are applied they will look like this

Now proceed to step 2 below.
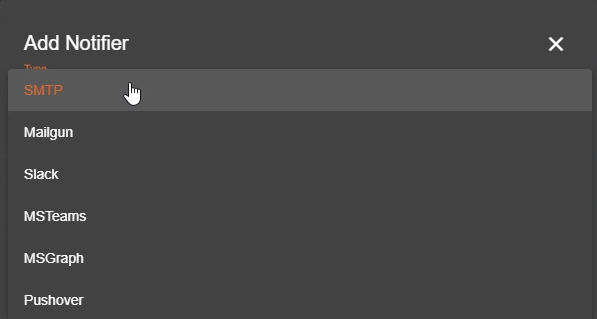
On the notifiers page, Click the “+” in the top right corner

Select the MSGraph from the dropdown
Specify the friendly name to be used for this Notifiier
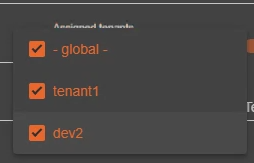
Assign the tenants it is available for
Specify the App ID, Client Seret and Tenant ID that was created as part of the Azure/Office365 configuration described in Step 1a to 1r above.
Specify the default sender. Note: This send should be allowed from an e-mail perspective otherwise the e-mail system will still block the sending of e-mails regardless of permissions assigned to the GraphAPI.
Specify the default recipients
Click “Save”
Your notifier is now ready.