
Pushover configuration
The steps below takes you through the process of the notifier configuration of Pushover, both for the Pushover service as well as the notifier configuration items (A video has been included for your convenience:
To configure the Pushover notifier, please complete the following steps:
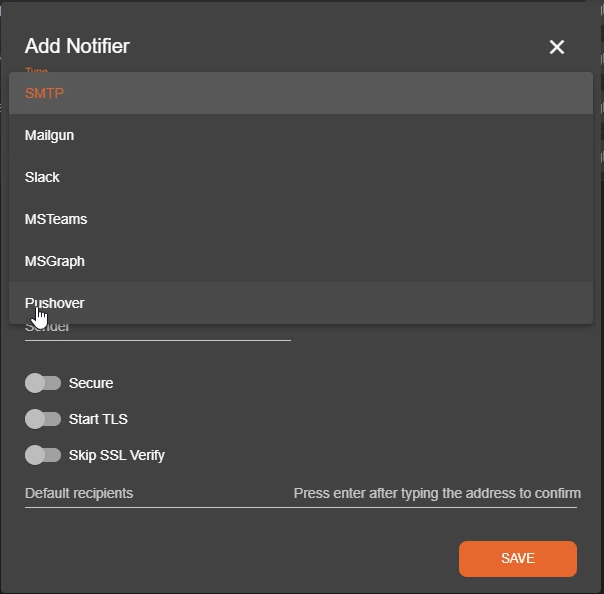
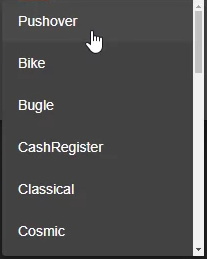
Go to the Notifiers page and select “Pushover”
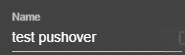
Specify a friendly name for this Pushover notifier
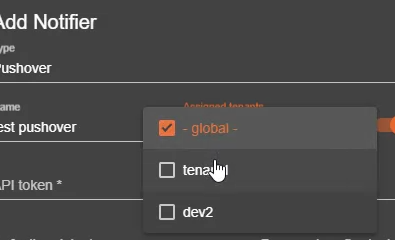
Assign the notifier to the relevant tenants
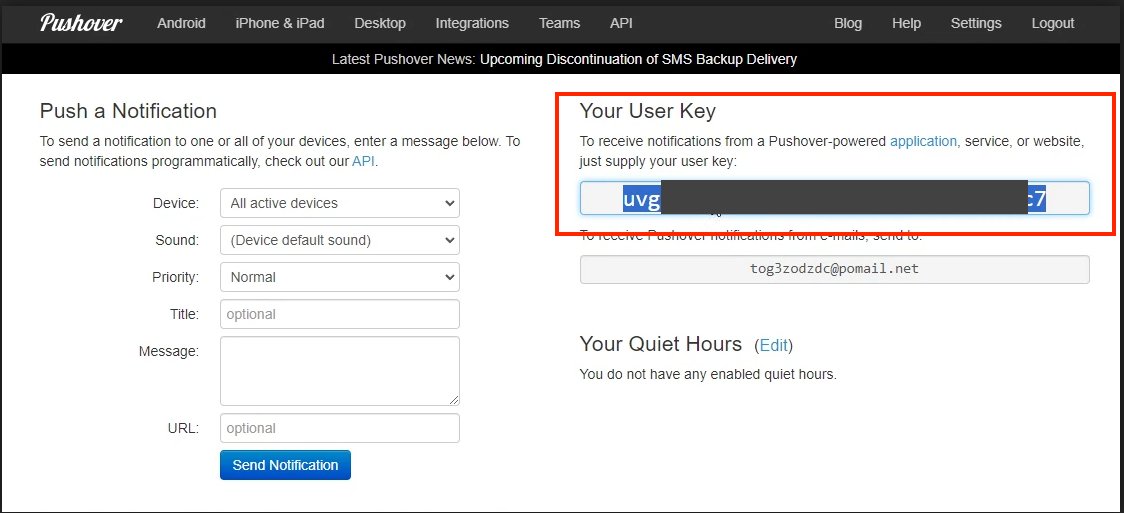
Retrieve your default recipient from your Pushover account, it is at the top right of your pushover account page. Paste this in to the “Default recipient” field in the notifier configuration and Press [ENTER]

In the Pushover profile/account page, go to “Your Applications” and Click on “Create an Application/API token?

Specify a name for this Token
Provide a description for this token
Check the box that relates to terms of service at the bottom and Click “Create Application”
Copy the API token at the top of the page that is presented
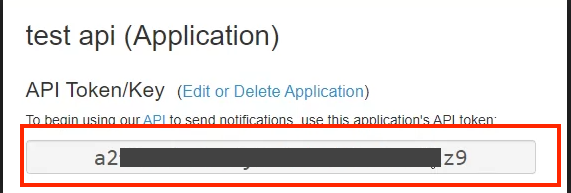
Next, Paste this token into the notifier configuration on the line that says “Api Token”
Set the priority for this notifier NOTE: you can create more than one of these with the same API token but with different priority levels.

Specify the Pushover sound that is preferred
Your notifier is now ready for use.