Sending events to Incident Response
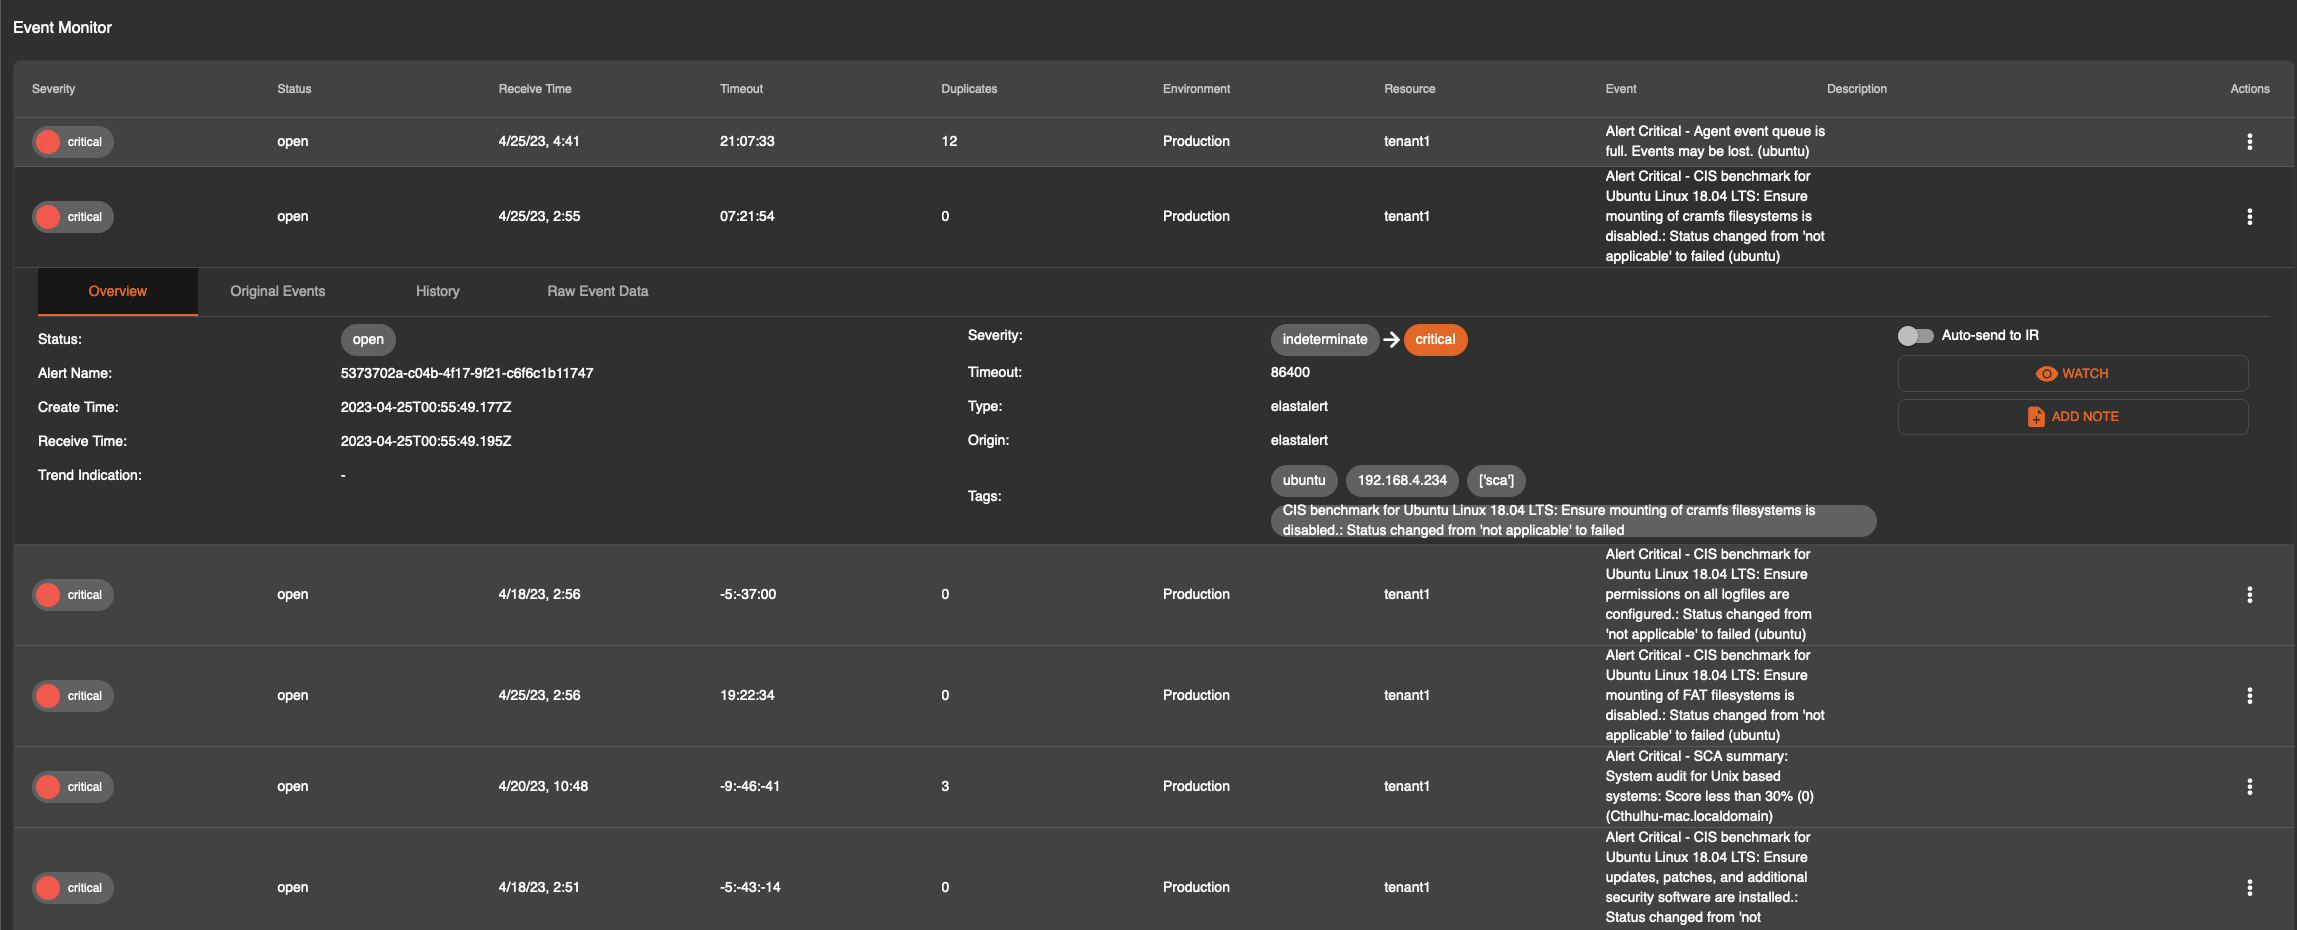
Once rules have been activated, modified or created, alerts will start flowing to the events dashboard. To view the details of the alert, you can click on any of the alerts.

This expanded view has four tabs that can be clicked:
Overview - a basic overview of the alert that was received

Original Events - A listing of all events that were received with the same alert criteria. This will have 1 or more lines based on the deduplication count. The data presented is in JSON format for ease of use in external editors.

History - This contains the evolution history of an alert and is able to show various events including but not limited to the items displayed below. One notable item that deserves to be raised outside of this severity indicator, which can adjust based on the events coming through.

Raw Event Data - This tab presents the formatted raw data as configured in the alert rule. This output can be adjusted there to provide additional information.

with the above information in hand, a responder can decide if they want to send the alert to incident response or, permanently send all matching events coming through to incident response. This criteria differs between companies and hence the decision to send or not to send items to incident response rests solely on the responders decision making process or defined incident process internal to the customer.
To purely send the alert event to incident response once, the three dot menu on the right hand side can be clicked and Send to IR can be clicked.

This will then be transmitted to the incident response module as an alert.

It is also possible to send alerts that match the original criteria to the incident response module automatically. This can be activated by clicking on an alert and flipping the toggle “Auto-send to IR” in the top right corner of the alert as per the screenshot below.

Your alerts are now being sent to the incident response module and can be further processed by the responder or team.
