Azure Hydra VM Deployment
This document will be used to assist with deploying the Azure VM. This leverages Ubuntu 20.04 LTS.
Create a VM
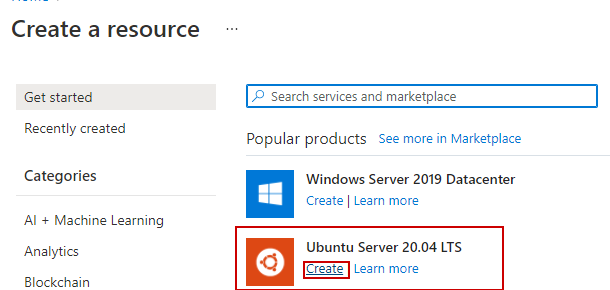
On Portal Home page:
1. Create a Resource – Select Create on Ubuntu Server 20.04 LTS
On Create a virtual machine page:
Basics Tab:
2. Select Subscription and Resource group
3. Fill in Virtual machine name (will populate a new resource group if none selected)
4. Select Region appropriate for customer
5. Security type is Standard
6. Image will be populated with Ubuntu 20.04
7. Select necessary size
8. Select SSH public key for Authentication type
9. Create username
10. Select Generate new key pair for SSH public key source
11. Fill in Key pair name as desired
12. For Public inbound ports select Allow selected ports
13. For Selected inbound ports leave default SSH (22) for now.

14. Accept the defaults for the Disks, Networking, Management, Advanced, and Tags pages.
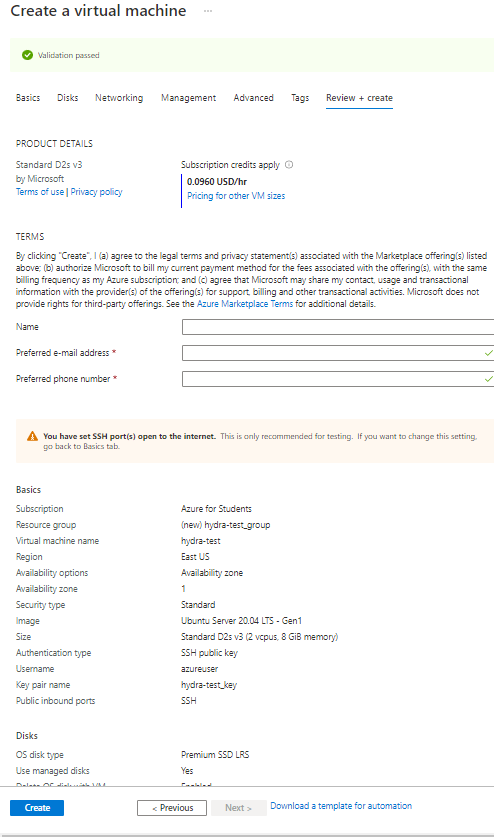
15. Click To Review & Create – There will be a green validation at the top pf the page
16. Click Create
17. You will get a pop-up to download the new key pair
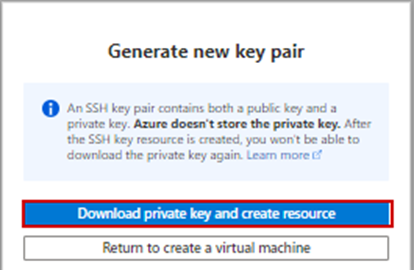
18. Click Go to resource
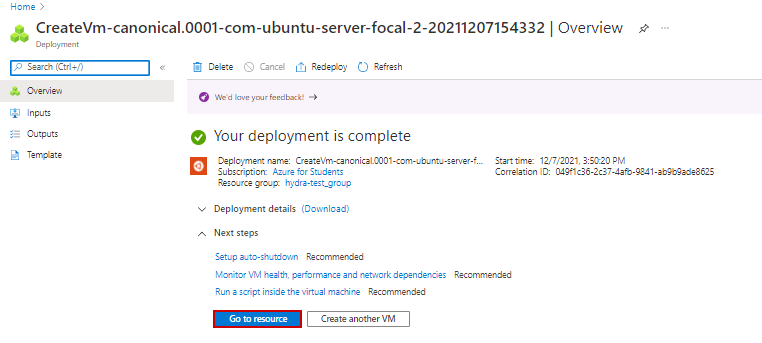
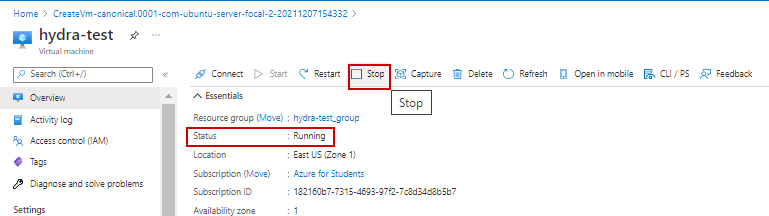
On Overview page:
19. Allow deployment to complete to running status and then stop machine. Select Stop.
a. Status will show deallocated when stopped
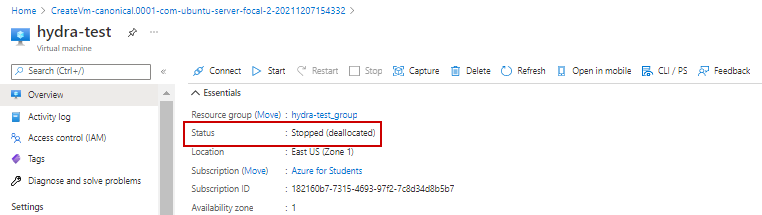
20. Select Disks in left menu under Settings
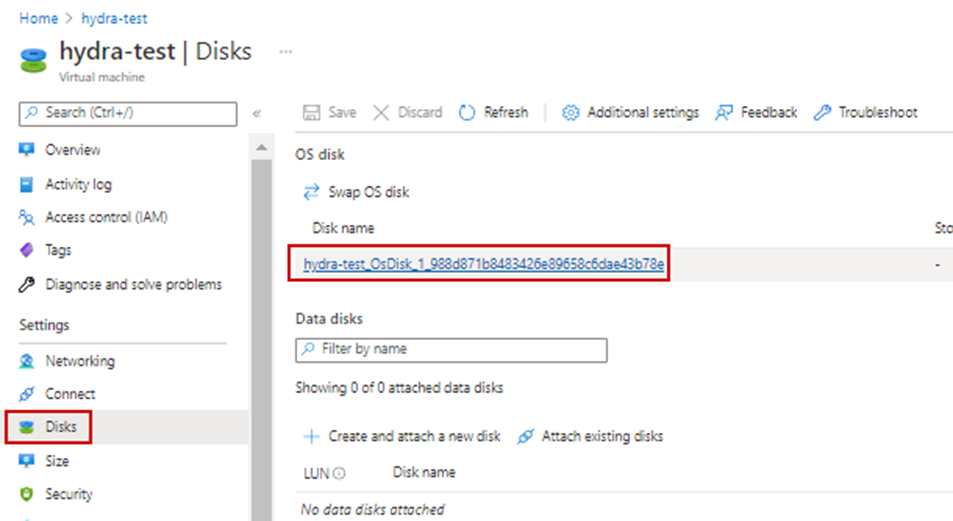
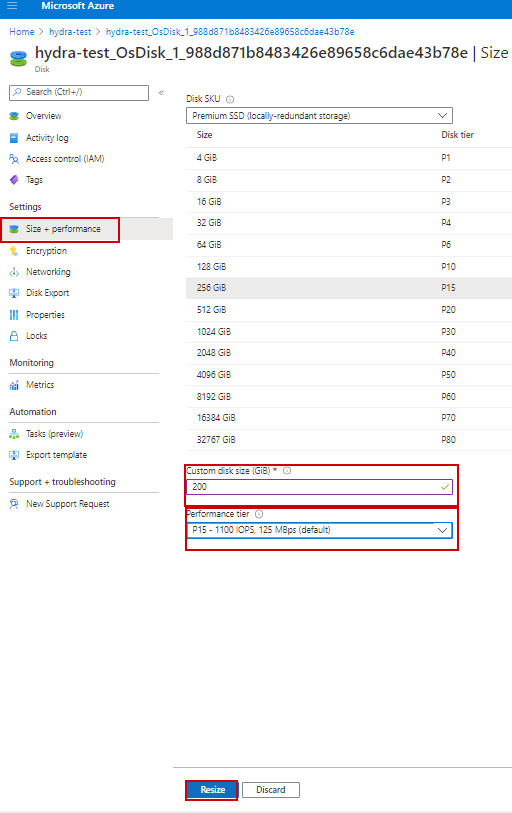
On Disk page:
21. Select Size + Performance tab from the left menu
22. For Custom disk size; Increase to custom size of 200 GiB
23. Select appropriate performance tier as needed for customer
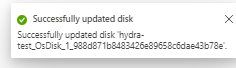
24. Select Resize – Wait until you see the successful update message in top right
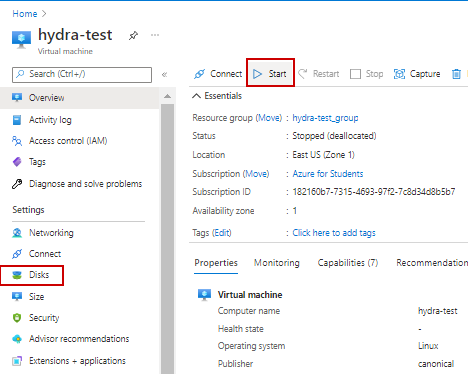
On Overview page:
25. Select Start to bring up the VM.
26. Select Disks, and verify changes took effect.

27. Connect to VM so you can access the CLI
Configure VM on CLI
Perform the following steps to SSH:
Make sure you have necessary permissions on pem file
chmod 600 <VM_Name>.pem
SSH with pem file to public IP of VM
ssh -i <VM_Name>.pem <username>@<public IP>
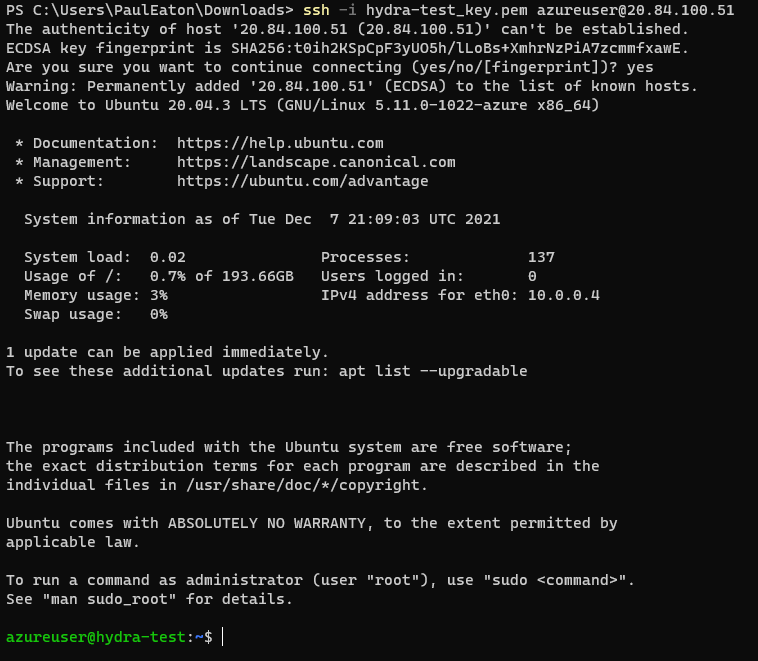
2. Update the VM once you SSH in
a. sudo apt update
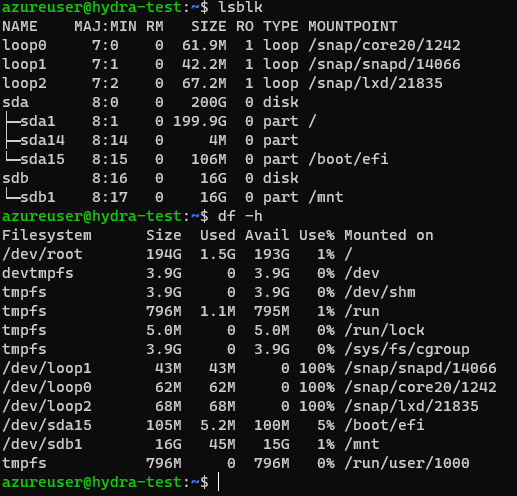
3. Verify partition is the required size
a. lsblk
b. df -h
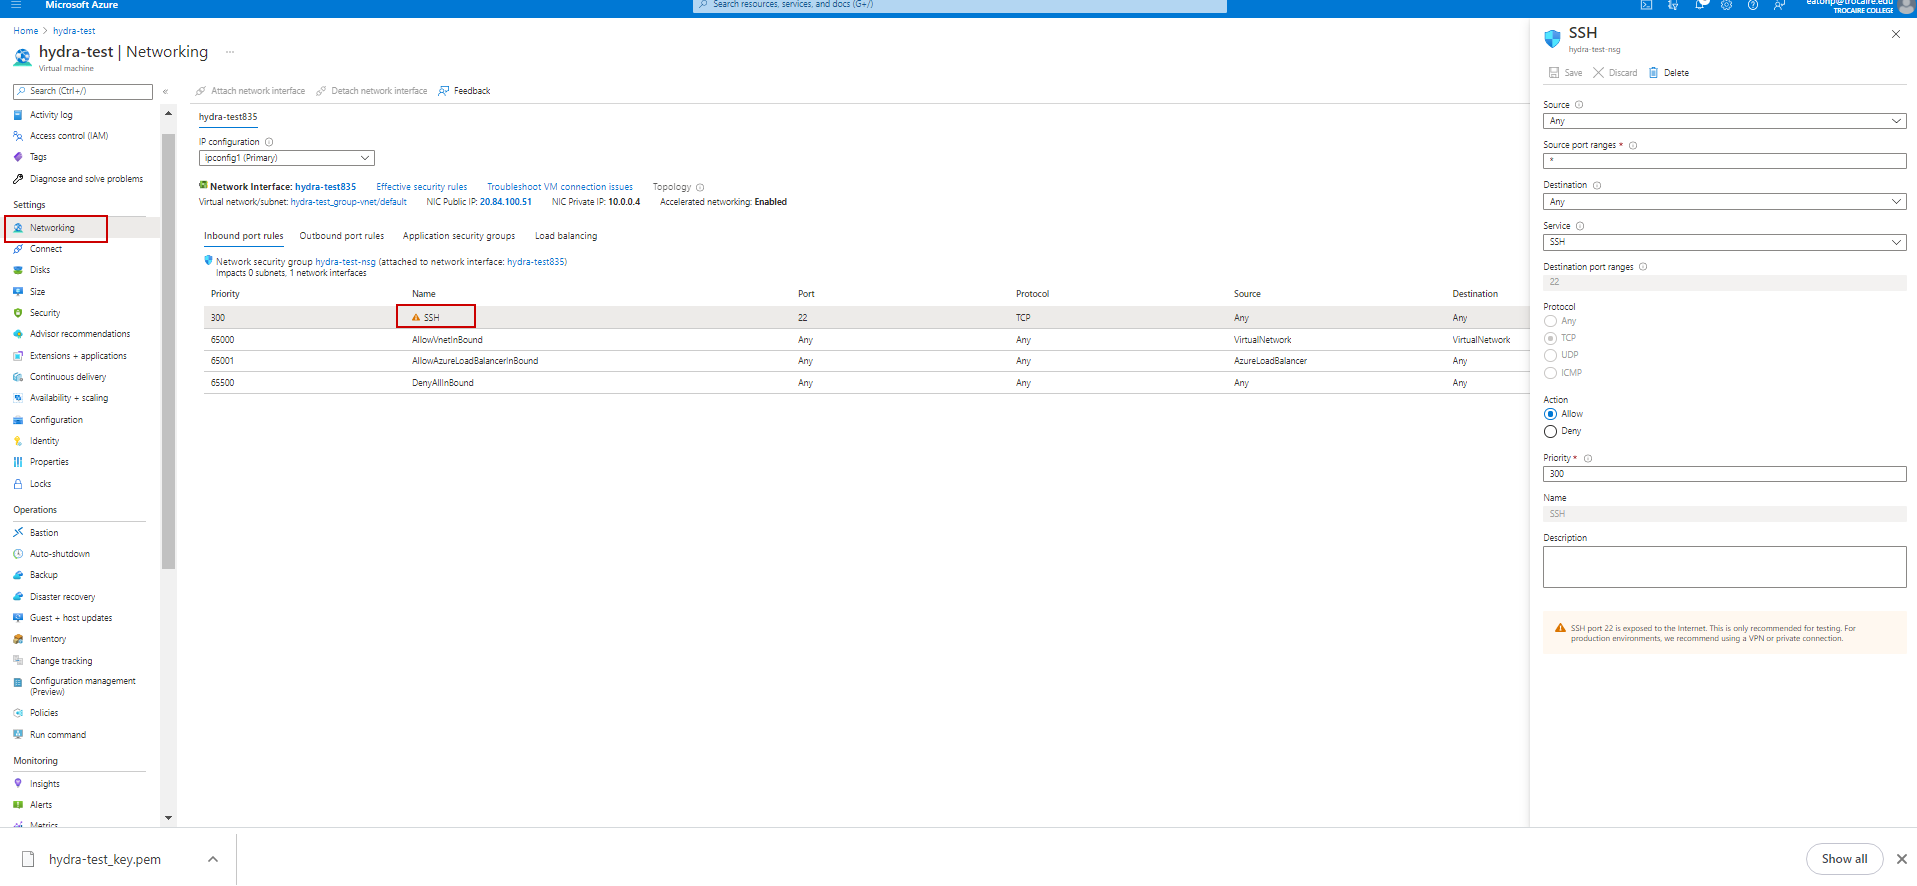
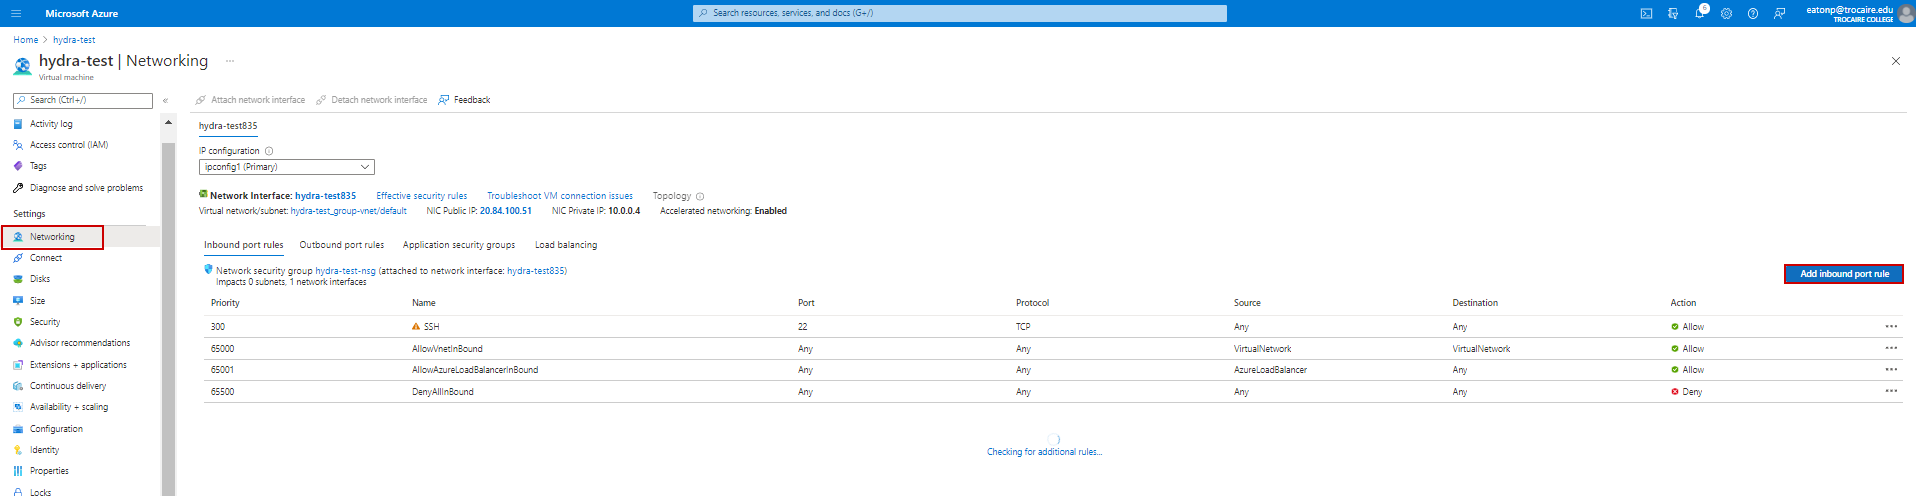
Configure inbound Port Rules
From Networking
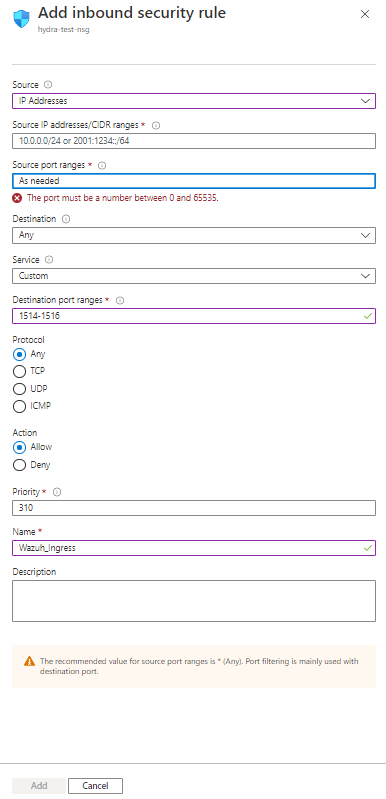
1. Add Inbound port rules for Wazuh. Click Add inbound port rule
2. Source is usually a private IP Address/Range – IP Addresses
3. Source IP addreses/ CIDR ranges – Appropriate addresses
4. Source Port ranges - *
5. Destination – Any
6. Service – Custom
7. Destination port ranges – 1514-1516
8. Protocol – Any
9. Action – Allow
10. Priority – 310
11. Name – Wazuh Ingress
12. Click Add
13. Add Inbound port rules for Syslog Click Add inbound port rule
14. Source is usually a private IP Address/Range – IP Addresses
15. Source IP addreses/ CIDR ranges – Appropriate addresses
16. Source Port ranges - *
17. Destination – Any
18. Service – Custom
19. Destination port ranges – 514
20. Protocol – Any
21. Action – Allow
22. Priority – 320
23. Name – Syslog
24. Click Add

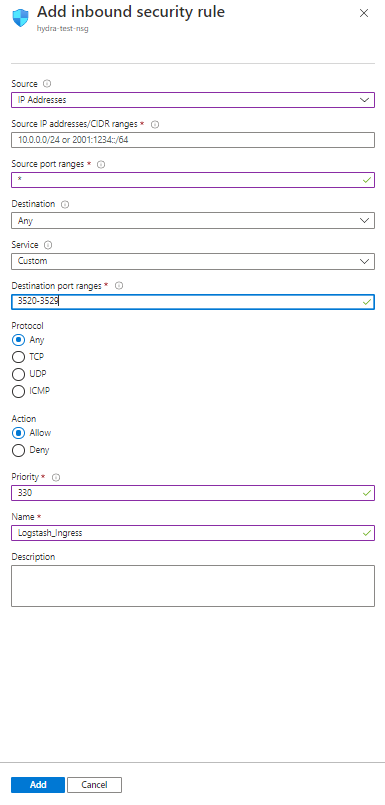
25. Add Inbound port rules for Logstash. Click Add inbound port rule
26. Source is usually a private IP Address/Range – IP Addresses
27. Source IP addreses/ CIDR ranges – Appropriate addresses
28. Source Port ranges - *
29. Destination – Any
30. Service – Custom
31. Destination port ranges – 3520-3529
32. Protocol – Any
33. Action – Allow
34. Priority – 330
35. Name – Logstash
36. Click Add
37. Restrict access to the SSH Inbound rule to specific IP address, double click on SSH rule.
a. Change Source: IP Addresses
b. Enter Source IP Addresses/CIDR: As appropriate