
Universal Hydra Deployment
This document details the installation process for the Hydra Universal log collector. Hydra is a Debian 12+ Linux machine virtual/physical that SIEMonster use for log centralization for branch offices or tenants for our MSSP Platform.
All onsite logs are aggregated & tokenized before being sent back to the SIEMonster Enterprise or MSSP Edition This is equivalent to a USM appliance that AlienVault use.
Hydra Download
Use the following URL to download the Hydra Image for instances with Wazuh 4.12
https://releases.siemonster.io/SIEMonster-Hydra-Universal-V5.17-Debian.ova
Sha256
8d8987d26d9cfcca76275f99d41a8d6ae7992937a4999486138e4726c727e400
Proceed to Universal Hydra Deployment | Importing-the-OVA
🔖 NOTE: The following steps and screenshots are from the ESXi 8.0 platform, there may be subtle graphical differences as well as shortcut location differences.
🔖 NOTE: The virtual hardware support for the OVA is limited to ESXi 6.7+, please ensure to have this version or higher available for deployment. Should you require a custom deployment script to deploy the log aggregator on a different hypervisor, please contact the sales team to provide a quote.
Importing the OVA
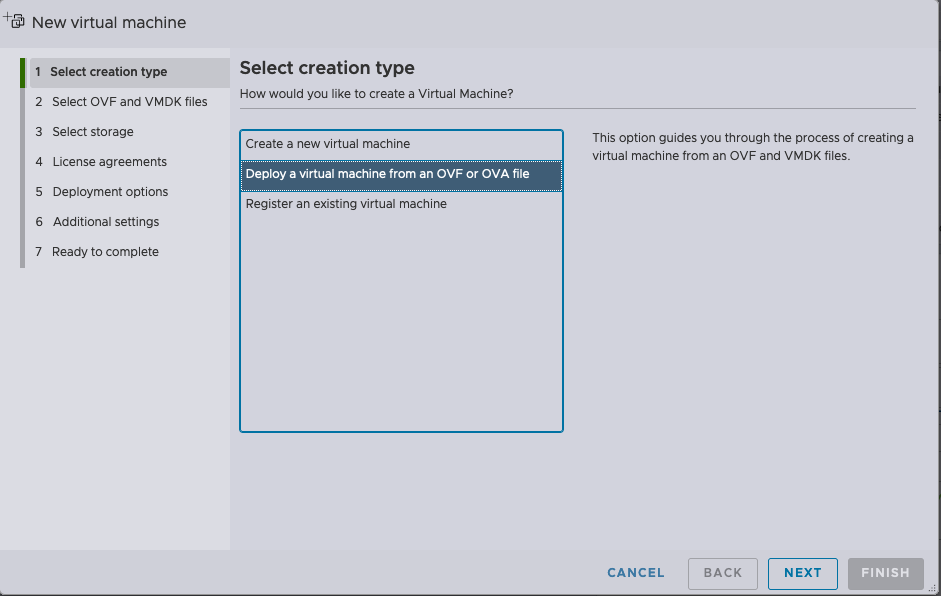
Click on create/register VM

Select “Deploy a virtual machine from OVF or OVA file” and Click “Next”
Specify a preferred name for the VM instance.
Drag and Drop the OVA file onto the box below the name
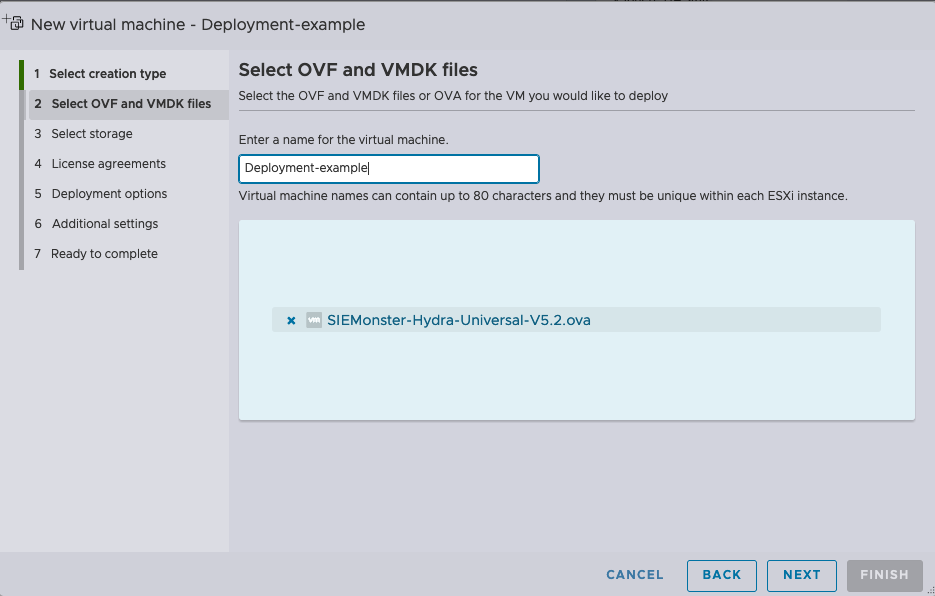
Click “Next”
Select the datastore where you want the VM to reside
Click “Next”
Choose the correct network mapping for the VM, Choose if you would like the disk to be thin or thick provisioned and Click “Next”.
Untick “Power on Automatically”
Click “Finish”
Wait for VM deployment to complete. You can track the progress at the bottom of the interface in ESXi

VM Specifications
Once the VM is deployed. The correct hardware allocation needs to be assigned. The recommended settings are the following:
⚠️ NOTE: CPU core speed should allow for 2.4Ghz+
Item | CPU | RAM | DISK | Agent Count |
Recommended | 8vCPU | 16GB | 1TB+ | 250+ |
Maximum | 16vCPU | 64GB | 2TB+ | 1000+ |
Configure the VM according to the above specifications based on the expected volumes*.
🔖NOTE: For every 500 agents that will be connecting to the log aggregator please add 1 GB of RAM over and above the default allocation up to a maximum of 32GB of RAM. For agent volumes above 1500 please contact the SIEMonster Support team to assist with deploying an additional Hydra with a loadbalancer configuration. Please note the above resource estimations do not include syslog sources due to the varying nature of such log sources.
🔖 ADDITIONAL NOTE: Storage for higher volumes of agents should be flash based or with a consistent throughput capability of 350MBps+
Network Specifications
The following ports are required for the Hydra to function.
Protocol | Port | Source | Destination | Description |
|---|---|---|---|---|
TCP | 22 | admin workstations | hydra | SSH |
TCP | 1514 | Wazuh Agent | Hydra | Wazuh connectivity |
TCP | 1515 | Wazuh agent authentication | Hydra and Central Platform (AWS) | This service registers the agent with the controller |
TCP | 1516 | Wazuh Agent | Hydra | Wazuh agent registration |
UDP | 1194 | Hydra | Central Platform (AWS) | OpenVPN |
TCP | 8443 | Hydra | Central Platform (AWS) | OpenVPN registration service |
TCP | 443 | Hydra | Multiple | HTTPS is required for various aspects and should be allowed. If this cannot be allowed due to compliance etc and custom routing is required for breakout over AWS vpn channel please request a quote for professional services to have this configured. |
⚠️ NOTE: SSL interception and/or inspection MUST be turned of on all rules that are applied to allow this traffic. Failing to do so will prevent successful communication.
Configuring the Hydra connection to the central platform
Once the Hydra hardware configuration is complete, power on the virtual machine and wait for the “User Configuration” screen to load on the VM console.
Specify the hostname for this aggregator instance, this will be reflected in the VPN dashboard on the bastion host.
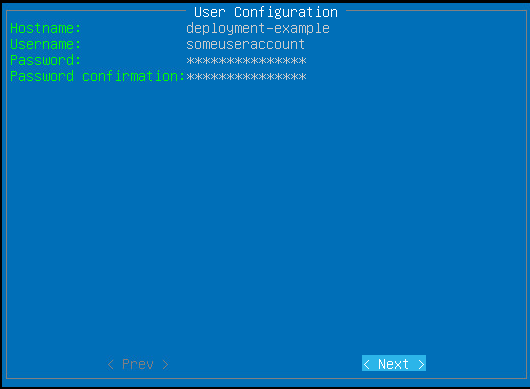
Specify the username you prefer to use and Press the [Down Arrow]
Specify the password you would like to use and Press the [Down Arrow]
🔖 TIP: use a simple password at this point that can be easily typed without a low risk of error. It has been found that complex passwords can pose problems in some circumstances through the VMware console interface. This password can be changed to high complexity after the setup completes or be replaced by certificate authentication.Confirm the password you would like to use and Press the [Down Arrow], then Press [ENTER]
Should the next screen present display error, it means that the passwords don’t match.
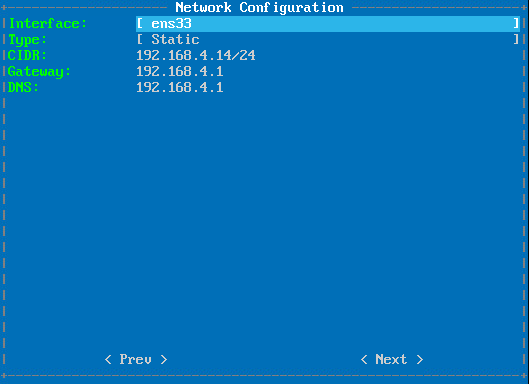
On the next screen, the networking configuration will be captured. If using a VMWare environment, the default interface [ens33] can be used. If you require a different interface Press [ENTER] and Select it from the dropdown list. Then Press the [Down Arrow]
Change the “Type:” to Static by Pressing [Enter] and Selecting “Static”
If there is DHCP present on the VLAN being used, an example configuration will be presented. Feel free to change the settings accordingly, line by line and Pressing [Down Arrow] when done with each line.
When the prompt is moved down and reaches “previous”, Press [Right Arrow] and then Press [ENTER]
The next screen deals with the registration of the Hydra to the central platform. This requires a registration URL, username and password. [pin here]
In the URL line, Specify the provided URL and Press the [Down Arrow]
On the “Login:” line please Type the username provided and Press the [Down Arrow]
On the last line, please Specify the password provided and Use the arrow keys to Move to “Next”, then Press [ENTER]
The system will then attempt to connect to the OpenVPN host
If you should receive an error, please ensure that that all details were correctly type without error, the host can access all services through the firewall as stipulated under the network specifications and that not SSL interception or inspection has been enabled for the rules that apply to the traffic. Press [ENTER] to return to the previous screen if it is required.
The next step will automatically detect the Kafka Brokers, this will only happen if the authentication was successful. Use the arrow keys to Move to the “<Finish>” prompt and Press [ENTER]
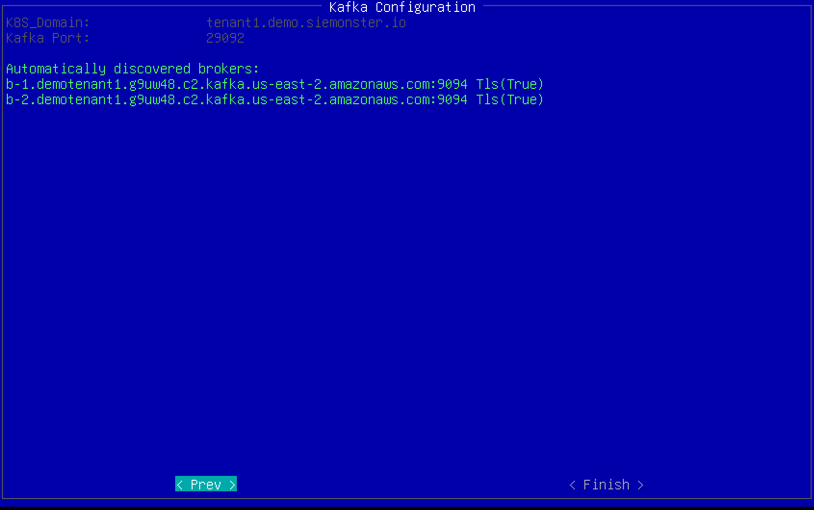
You will be presented with a “Setup is complete.” screen, Press [ENTER] to reboot.
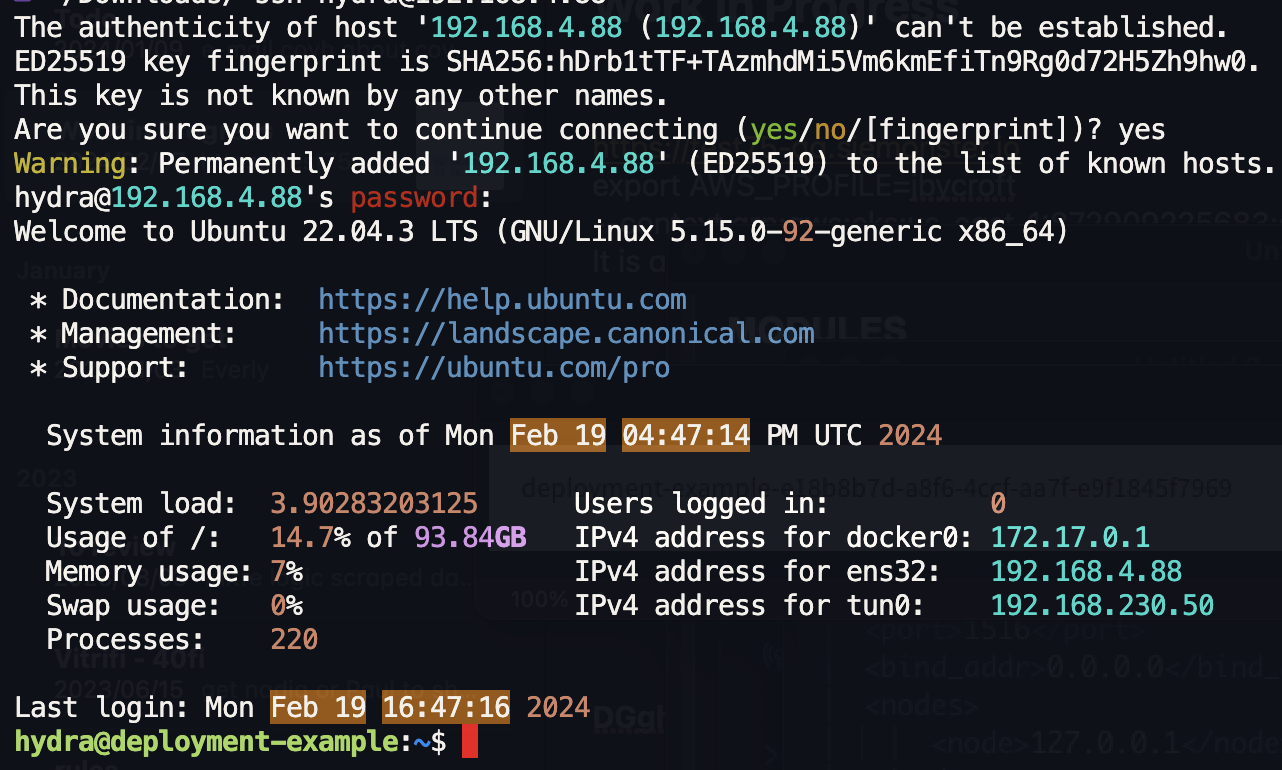
Please wait until you see a line similar to the screenshot below before proceeding to login.

You will now be able to SSH to the hydra.
Using a browser, proceed to the bastion URL used for registering the hydra (Chrome or Firefox preferred), and Login with the same credentials. You should be presented with a dashboard like the screenshot below showing the OpenVPN tunnel

Once the restart has taken place and the services have started you should be able to login to your hydra with the credentials you specified.
Ensure that your hydra joined the Wazuh cluster be performing the following steps
Click the drop down for Modules at the top left

Click on “Management” and then on “Cluster”
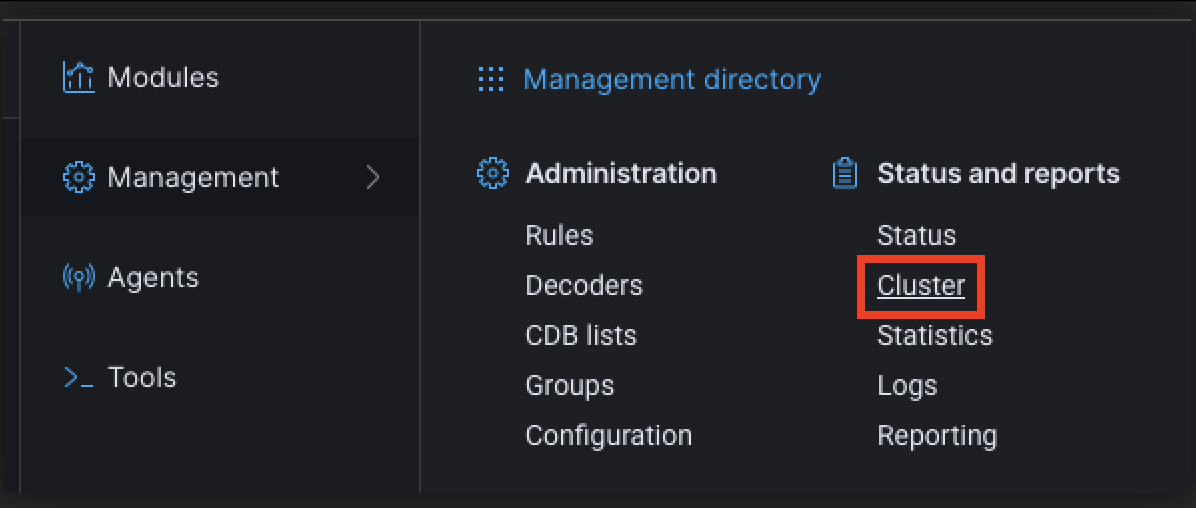
If your configuration steps were correct your hydra will be reflected in the list
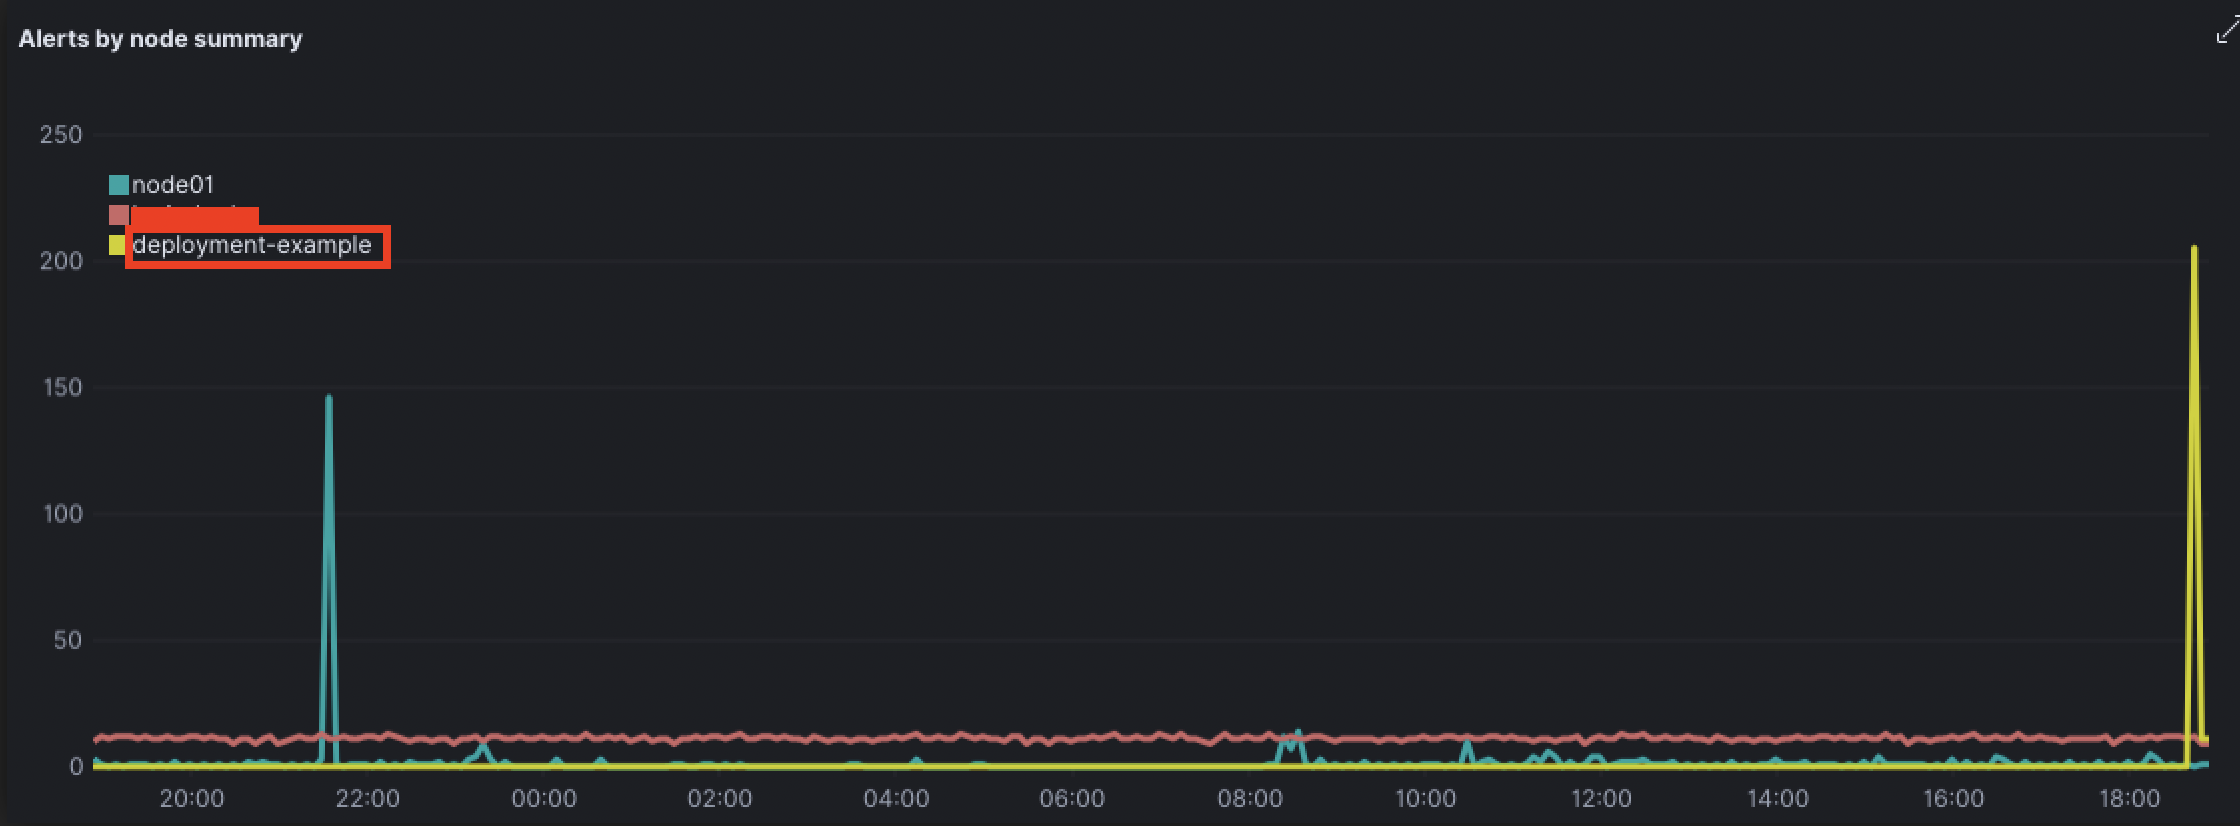
Your Hydra is now up and running.
⚠️ NOTE: If your Wazuh cluster is not connecting, please follow the following guide
https://docs.siemonster.com/current/configuring-the-hydra-wazuh-cluster
🔖 There are additional settings required. Please see the following sections:
https://docs.siemonster.com/current/configuring-the-hydra-suricata-instance
Optional Configuration:
https://docs.siemonster.com/current/configure-the-hydra-syslog-receiver